How to make a Boot Planter Flowerpot – Rubber Boot Planter?
Are you familiar with the 3Rs (Reduce, Reuse, Recycle)? If not, let me enlighten you. You may be thinking, why am I discussing this? What is the role of this in gardening? Hold on, I am going to share with you an idea for a boot planter flowerpot.
Boot Planter is a trend these days. Everyone is willing to Recycle, Reuse, and Reinvent plant pots. Here, the last “R” has a different meaning. Sounds interesting? I am here to help you, plant lovers. If you don’t know about them, I assure you that after reading this, you will be able to experiment and will be astonished to see the result.
Boot Planter Flowerpot:
A flower pot or a plant pot is a container in which flowers and other plants are cultivated. Usually, pots or planters are made from plain terracotta without any glaze. History suggests that since ancient times pots have been made from natural clay or terracotta, with a round shape that is tapered at the bottom. Due to the ever-changing world, people have many creative ideas regarding planting.
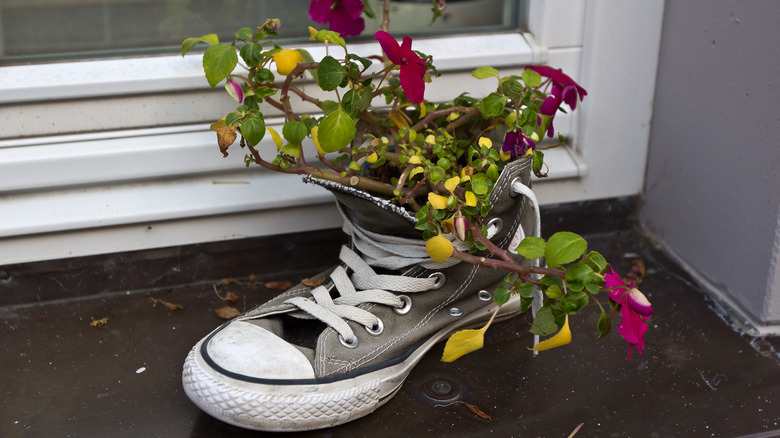
Due to a lack of resources and lack of artisans, people eventually started using different materials for making pots. Pots are also made from concrete, wood, metal, stone, and a few other materials. With innovation in science and increasing waste in the world, people started innovating plant pots by making them organic. People also started making best-out of waste pots or upcycled or recycled pots which included pots made from old buckets, mugs, old shoes, old boots, and much more.
Due to increasing plastic waste, pots are also made using recycled plastic. Pots are even made from bio-degradable materials like paper waste, organic plants and vegetable waste, bamboo planters, and much more.
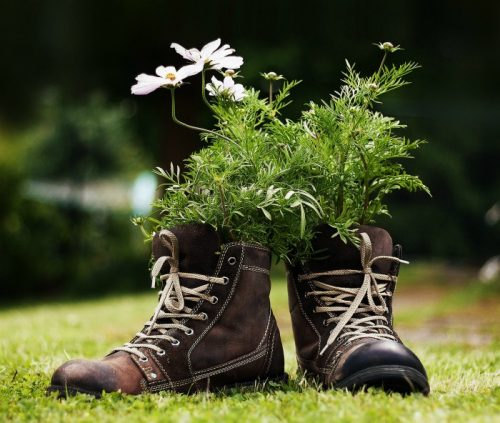
Recycling is a small step that everyone can take to protect the environment. If you have shoes lying around, that are still appealing but no more appealing to you to wear, these can be used as planters. If every home starts recycling then we can make a better world. Recycling things and reusing them is much more economical and cheaper. We usually throw away older shoes or boots and just add up to the waste pile. Rather than throwing away old shoes and boots can be converted into creative and appealing planters.
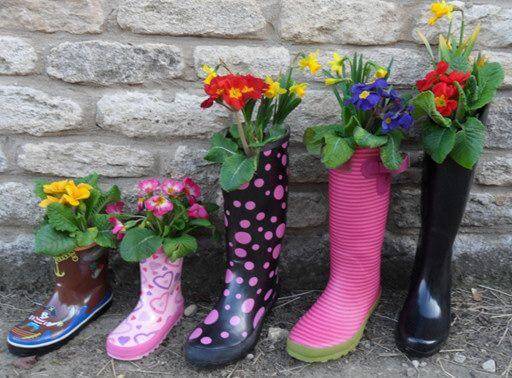
In this post, we will discuss how to make rubber boot planters that can make your garden look more appealing and is an eco-friendly way to recycle rubber boots. Succulents are the best-suited plants for such boot planters. Gardening can be fun for kids too when such unique and upcycled planters are unconventionally utilized.
How to make a Boot Planter Flowerpot, DIY at home?
Materials required for making these Boot Planters:
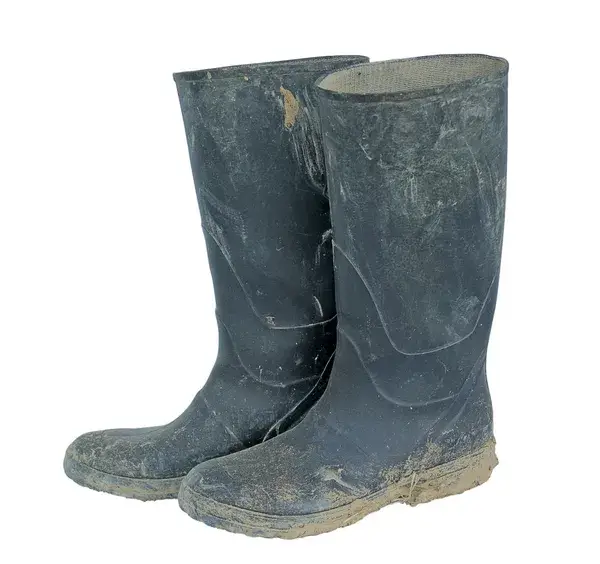
- A pair of old rubber boots
- A drill and a drill bit
- Soil for potting the plant sapling
- The desired plant sapling (Succulents and Herbs are usually preferable)
- Some organic fertilizer.
- Water
Step 1: Finding Boots and cleaning them
If you have shoes lying around, which are still appealing but no more appealing to you to wear, these can be used as planters. Usually, old rubber boots are easier to work with. Even if you do not have old shoes, you can always purchase from thrift stores or stores that sell upcycled shoes at cheap prices. After acquiring the shoes, the next step is to clean them thoroughly.
Cleaning the inside of the shoes is important to make sure there are no harmful chemicals or toxic materials left in them, which may damage the plant. Simply washing the boots with water can clean them. After cleaning the boots, the next step is removing the innermost soles. Removing all insoles is a necessary step.
Step 2: Drilling Drainage Holes
The most important factor for a good harvest is soil drainage. To create drainage holes, one can use a drill machine or even nails and a hammer. If the water is not properly drained out of shoes then the roots of the plant may rot damaging the whole plant.
To make drainage holes, a large bit would be required as the soles are sturdy and hard and need a stronger bit to be penetrated. Drilling a few holes with some distance would be enough.
Step 3: Layering the boots
Layering the boots with different materials is important. The bottom-most layer would be of stones, to weigh down the boots to make sure they do not fall or topple and also to make sure the water is not completely drained off the roots.
The next layer would be filling the potting soil. First, fill the toe part of the shoe and then the feet part to the 3/4th length of the shoe.
Step 4: Planting the desired sapling
Step 5: Watering the plant immediately
Watering the plant immediately after planting the sapling ensures that the soil properly settles down into the boots and makes it moist for the plant to flourish.
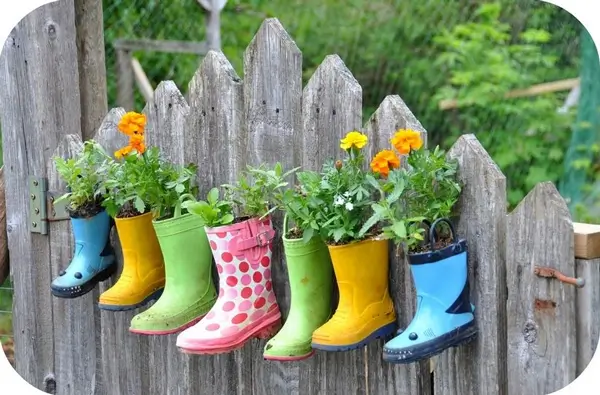
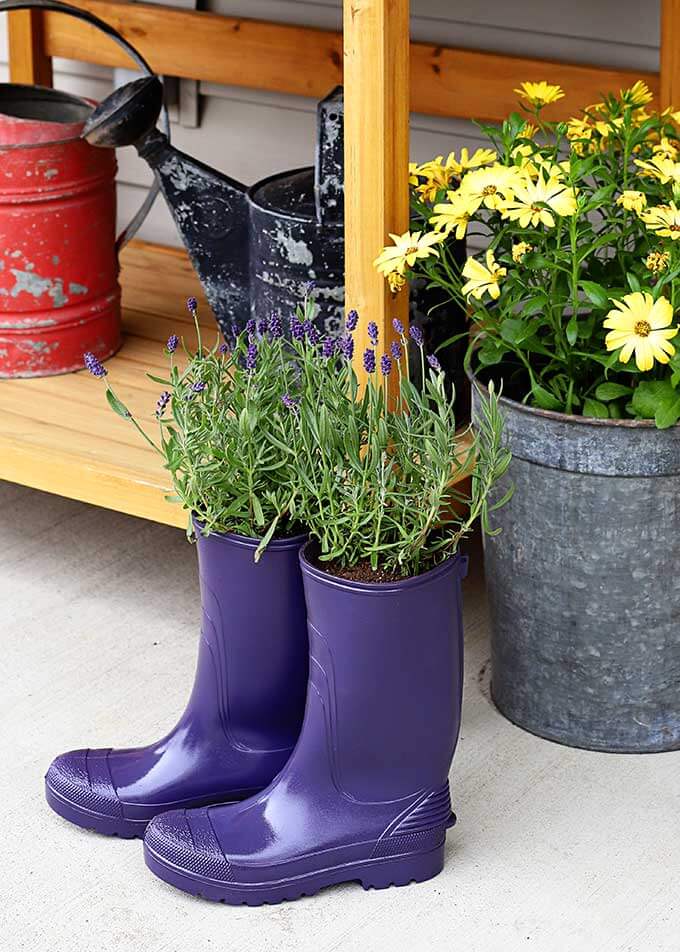
Final Step: Finding a perfect spot or a place to hang or keep the boot pots or planters to glorify your garden
Before planting roots in the ground, one needs to pay attention to the depth of the pit. The crown of the plant should be there where the leaves originate, right at the top of the soil. A deeper pit may cover the leaves and the roots may also rot. If the plant is planted too high then the plant may dry out. Thus make a pit in the soil to fit the root ball of the plant inside the boots perfectly. Then plant the sapling after removing the plastic bag in which you get the sapling. Cover the plant with additional planting soil to make sure it is sitting properly inside the boots.
Conclusion:
Lastly, finding a perfect spot for the boot planters is essential to show off the beautiful upcycled potted flowers or plants. It is also important to place the boot planters in such a spot that they receive enough sunlight. One can also hang these boots on the fences or the compound wall of the garden.